Blonde Life Level 12 Toners

curly blonde hair model after treatment

Featuring Joico Global Technical Director, Jeannetta Walker-Rodgers

Learn how to use the game-changing release of Blonde Life Level 12 Toners by Joico! Because let’s face it—when blondes leave the salon, they want to be blonde. Joico Global Artistic Director, Jeannetta Walker-Rodgers, introduces breakthrough technology designed to keep your blonde clients their brightest. These sheer, high-lift toners—12N, 12T, and 12V—deliver stunning results without the need for clear, all while providing the essential shine and conditioning every blonde craves.

Watch Jeannetta’s step-by-step video and get the formula, here:

The Formula:

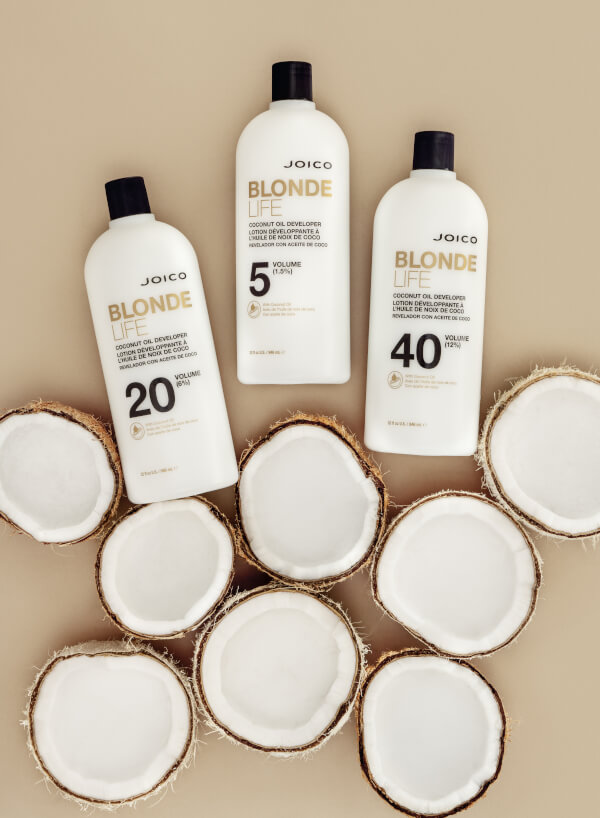
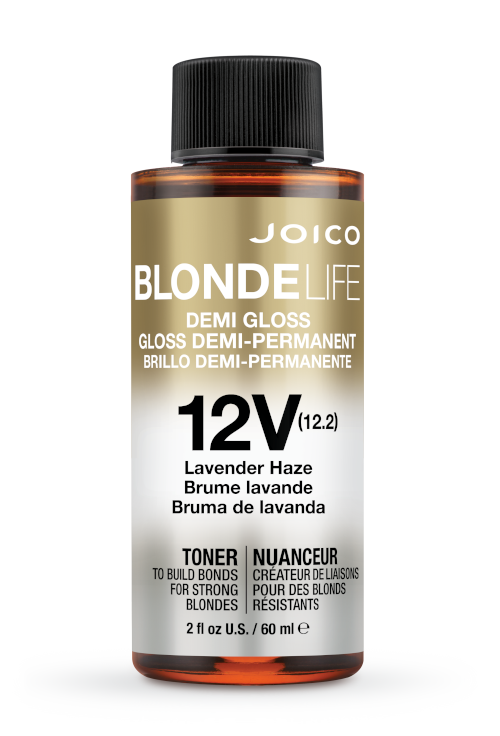
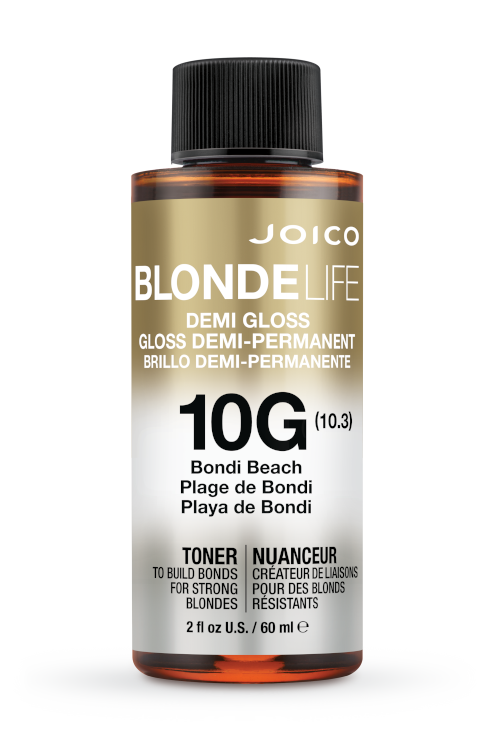
Gloss Formula: Blonde Life Demi Gloss 12(V) Violet + 5 Volume Blonde Life Coconut Oil Developer

blonde curly hair model before treatmentcurly blonde hair model after treatment

Jeannetta’s Step by Steps
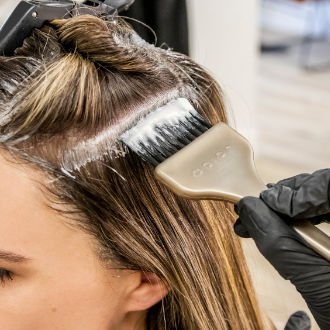
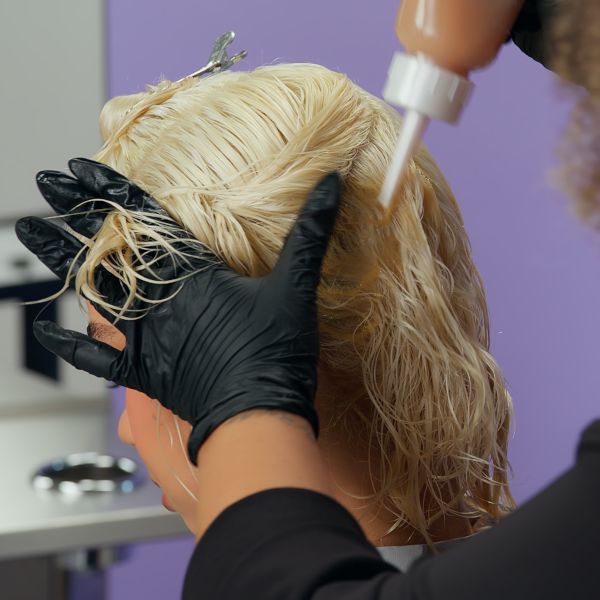
hair being treated

STEP 1:
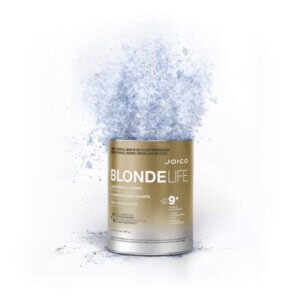
Pre-lighten globally with Blonde Life Lightening Powder.
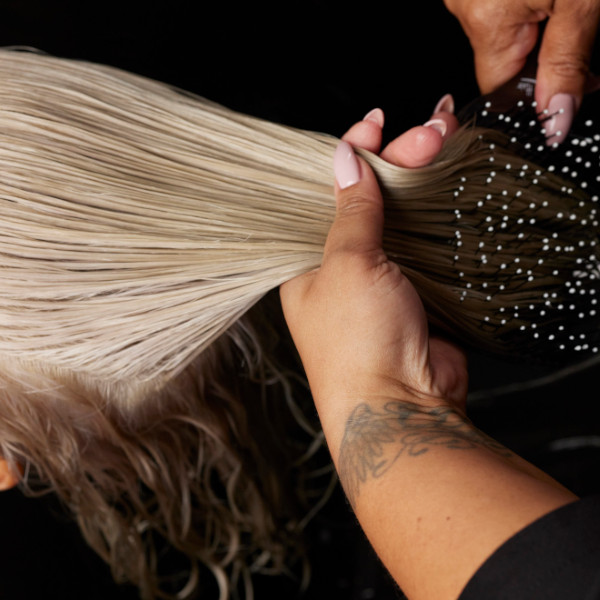
hair being brushed through

STEP 2:
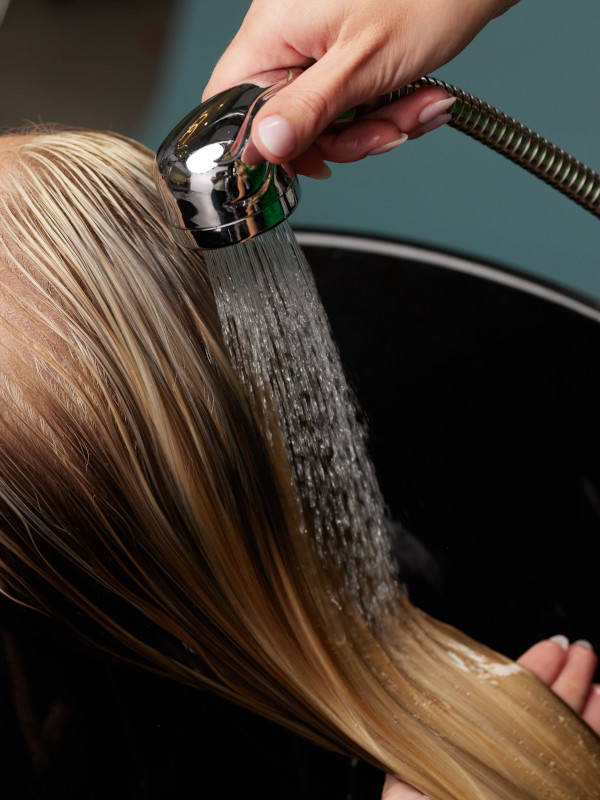
Detangle damp hair for even saturation.
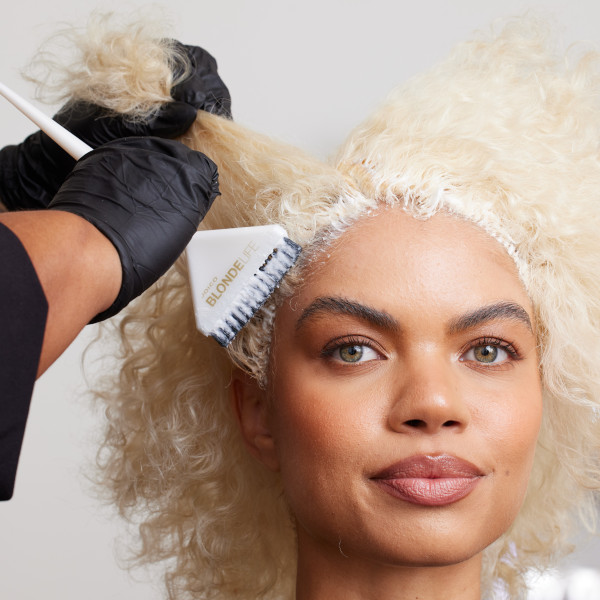
hair being treated

STEP 3:
Apply toner in diagonal forward sections at zone 1, pulling through to ends.
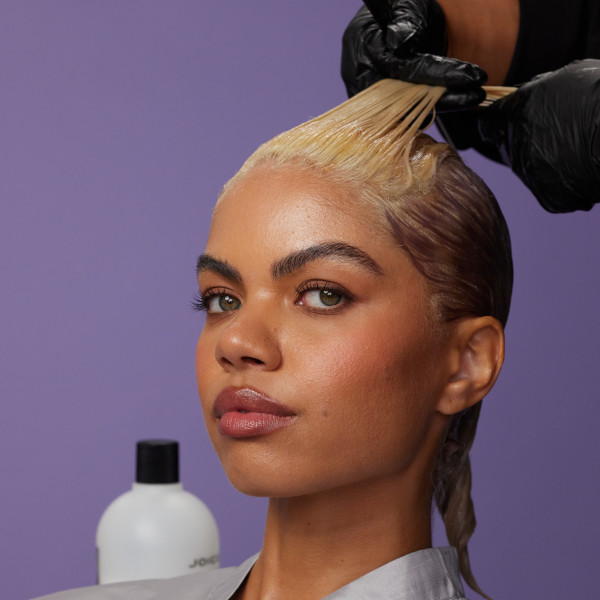
hair being treated

STEP 4:
Repeat in zones 2 and 3.

hair being rinsed

STEP 5:
Process for 20 minutes.

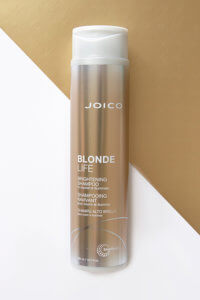
Blonde Life Level 12 Toners:

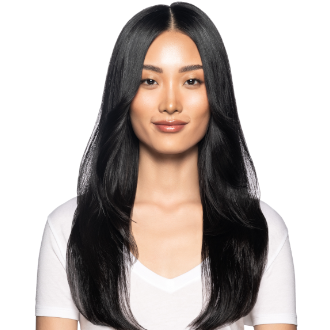
Transform your blondes with Joico’s newest Blonde Life Demi Gloss Toners. The new LEVEL 12 shades — our lightest ever — tone your most fragile blondes. Say goodbye to basic blondes and hello to strong, signature blondes in one easy step!

How to Use:

Mixing Instructions:
Mix 1:1 with 5 Volume Blonde Life Coconut Oil Developer. Best applied with a color applicator bottle. When mixing in a bottle, add developer first, then color and shake well.

Timing:
Process for up to 20 minutes or until desired tone is achieved, at room temperature.
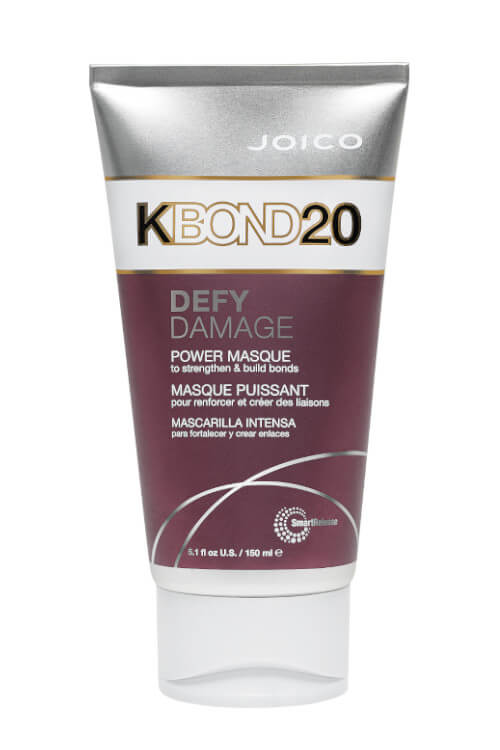
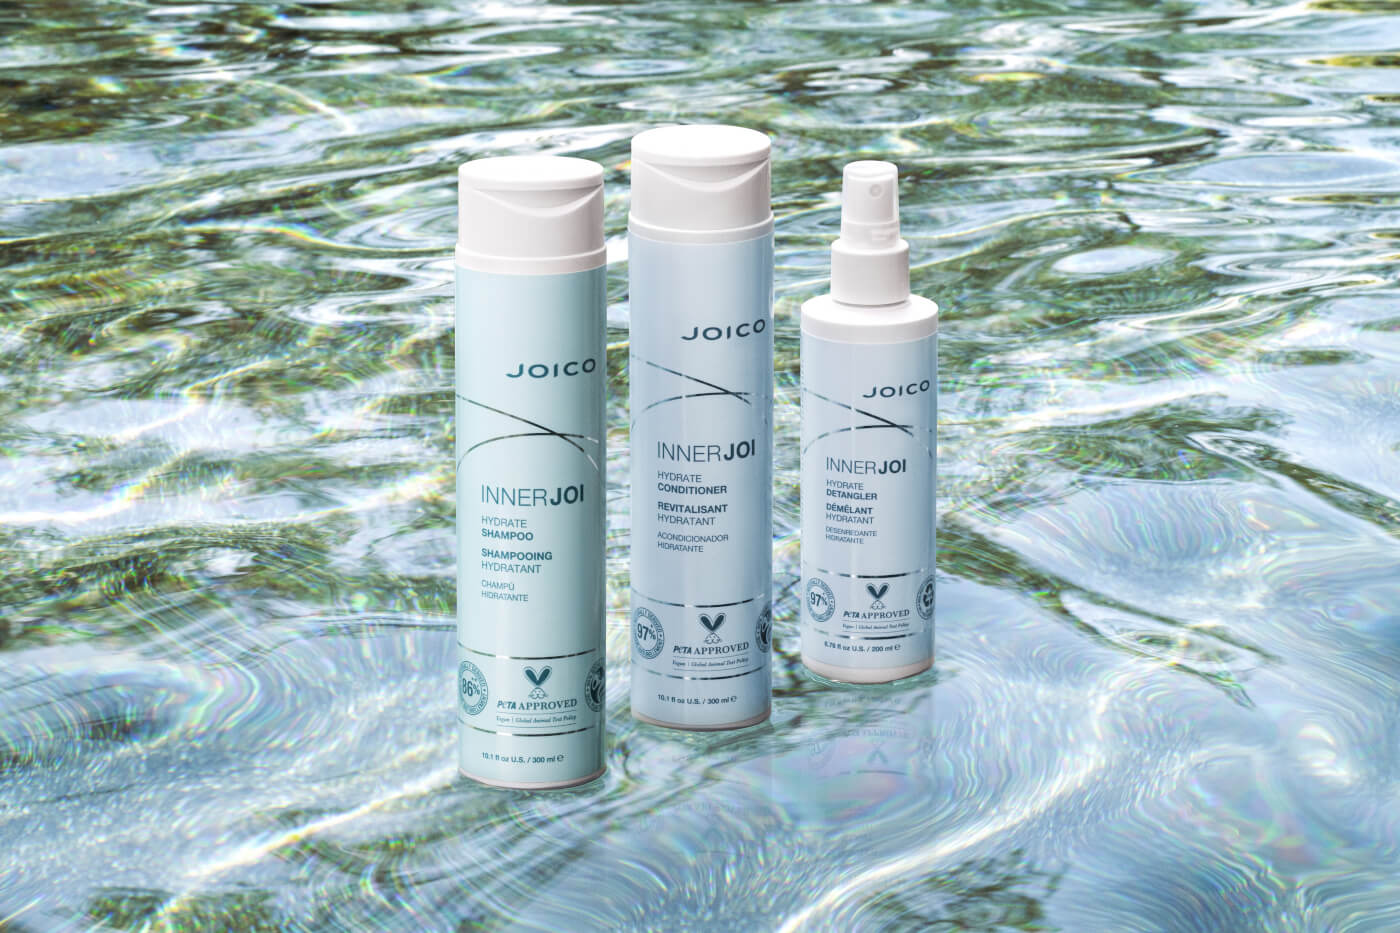
Products Used:

Quiet Luxury Highlight and BlondeLife GoldToners

model - gold toner after treatment

Featuring Joico Blonde Specialist and Brand Storyteller, Olivia Thompson

Say goodbye to dull, and hello to bright, beautiful blonde. Joico Blonde Specialist and Brand Storyteller, Olivia Thompson, introduces our stunning new GOLD shades—9G and 10G—designed to brighten and add warmth to dull blonde hair in one easy step.

Watch Olivia’s step-by-step video and get the formula, here:

The Formula:

Highlight Formula: Blonde Life Lightening Powder + 20 Volume Blonde Life Coconut Oil Developer

Gloss Formula: Blonde Life Demi Gloss 10(G) Gold + 5 Volume Blonde Life Coconut Oil Developer

model - gold toner before treatmentmodel - gold toner after treatment

Olivia’s Step by Steps

hair in foils

STEP 1:
Create a partial babylight highlight with the Lightening Formula from the swirl to the apex.

hair in foils

STEP 2:
Continue the technique from the apex to the front hairline.

hair in foils being treated

STEP 3:
Use diagonal-back partings from the hairline to the mohawk section.

hair in foils being treated

STEP 4:
Create a veil of brightness to connect the sides with the top section.

hair being brushed

STEP 5:
Lift to the desired level of lightness. Apply Gloss Formula and process for 20 minutes.

hair being rinsed

STEP 6:
Finish with Defy Damage KBOND20 Power Masque for 5x stronger hair in one treatment.

Products Used:

Cool that Blonde

Have a blonde client with a little too much warmth creeping into the picture?

Follow the lead of Joico Global Director of Haircolor, Laura Gibson, and turn to LumiShine’s new Demi Permanent Liquid BV shades to cool things right down. The Blue Violet Series features a unique, deposit-only demi formula that beautifully conditions hair, while helping you create gleaming, pearl-blonde and silver looks. More cooling than the Violet Series, but not as silvery as Blue Ash, this perfect BV niche adds a cool, steely cast to any shade of blonde. Delivering foolproof, predictable results every time, the gentle, ammonia-free system – intermixable and pre-blended — allows you to elevate your artistry by keeping all shades of blonde hair free of unwanted orange/yellow brassiness; while Joico’s bond-building ArgiPlex results in stronger, healthier-looking hair with 2X the shine!

hair model beforehair model after
Laura's formula

Formula 1 (Lightening): BlondeLife Powder Lightener + 5 Volume LumiShine Developer

Formula 2 (Root Shadow): LumiShine Demi Liquid 7BV + 5 Volume LumiShine Developer

Formula 3 (Gloss): LumiShine Demi Liquid 9PV + 5 Volume LumiShine Developer

Warm Copper Balayage

Already loving the ten-minute gray coverage benefits of LUMI10 our permanent crème color superstar?

Get ready to watch Joico Global Brand Education Expert, Ricardo Santiago, create a dazzling, dimensional natural-copper look using our new NC shade – it’s a perfect biz-building color that delivers those intensely gingery red tones in a multitude of levels, from blondes to light brown hair; celebrating the fierce fire of popular copper.

If you haven’t gotten up close and personal with our 10-minute, express-service innovation – Lumi10 Permanent Crème Color – allow us to introduce you! It’s professional permanent hair color that delivers 100% gray coverage and up to 2x the shine in just 10 minutes: With this powerful LumiShine innovation, you’ll get long-lasting, fade-resistant color, designed to increase your creativity and efficiency with speedy results. It’s a get-rich-quick opportunity for you…and your clients! Just some of what Lumi10 will do for you…

brunette hair model beforebrunette hair model after
Ricardo’s formulaPrep: Defy Damage ProSeries1 Bond-Protecting Color Optimizing Spray

Formula 1: (Foils highlights) Blonde Life Powder Lightener with Lumishine 10 Volume Developer

Formula 2: (Balayage) Blonde Life Balayage Lightener with LumiShine 30 Volume Developer

Formula 3: (Shadow Root) LUMI10 5NC + LUMI10 Developer

Formula 4: (Gloss) LumiShine Demi Liquid 7NC + LumiShine 5 Volume Developer (Process 5-20 Minutes)

Final Step: Defy Damage ProSeries2 Bond- Strengthening Color Treatment

Let you fit in lots more clients

Nail 100% gray coverage

Rev up revenue

Double the shine of your gorgeous creations

Add express services – especially for those last-minute clients! -- with ease

Pro Tips

hair model with colorist

Pro Tip 1:
For a feather weight balayage application, keep your wrist straight and lightly bounce the product onto the hair.

Pro Tip 2:
For a blended look on the front hairline, alternate between weaves and slices.

hair model with colorist

Pro Tip 3:
For a quick balayage application take large sections. Apply the lightener to the front of the section for high impact.

washing woman's hair

Pro Tip 4:
For a seamless blend apply your gloss formula from root to ends.

Honeycomb Blonde Curls

Woman with curly hairWoman with highlighted curly hair

“Taking Deja’s hair from black to a luscious honeycomb tone took lots of planning beforehand. I first did a strand test because, during our consultation, it was revealed she had box black color on her hair. I utilized bigger sectioning to speed through her application process and decided to keep her bright and blonde by toning her a honey-beige hue. Using Blonde Life Lightening Powder helped me achieve the lift I wanted while maintaining the strength and shine of the hair.”

COLOR FORMULASClient: Deja has level 3 box color

PREP TREATMENT: Defy Damage ProSeries 1: Bond-Protecting Color Optimizer Spray

FORMULA 1: Blonde Life Lightening Powder with 10 Volume LumiShine Developer (working up to 25 Volume)

FORMULA 2: (Teardrop Toner) LumiShine Demi-Permanent Liquid Color 6NA + 7N with 5 Volume LumiShine Developer

FORMULA 3: (Toner) LumiShine Demi-Permanent Liquid Color 10V + 8N + 9NV with 5 Volume LumiShine Developer

POST TREATMENT: Defy Damage ProSeries 2: Bond-Strengthening Color Treatment

TECHNIQUE

Hairdresser coloring womans hair in salon

STEP 1:
Prep with Defy Damage ProSeries 1. Shake the can vigorously and then spray in short bursts to 2-inch sections and comb for even distribution.

Hairdresser coloring womans hair in salon

STEP 2:
For client comfort, direct the hair and spray away from the face.

Hairdresser coloring womans hair in salon

STEP 3:
Start by section the head down the middle with a large mohawk. The sectioning should curve with the shape of the head. To measure the width of the mohawk, lay a foil down on the center of the head and take the width of your foil. This should be about middle of brow to middle of brow width.

Hairdresser coloring womans hair in salon

STEP 4:
Starting at the bottom nape of the mohawk, take large weave horizontal partings, tease the base slightly, and apply Formula 1 (making sure to feather the formula where the tease starts). This will effortlessly create a beautiful blend and shade the roots at the same time.

Hairdresser coloring womans hair in salon

STEP 5:
Take a fine slice parting and apply Formula 1 to create a baby light. Continue this large weave + babylight application working up through to the top of the mohawk section.

Hairdresser coloring womans hair in salon

STEP 6:
As you work with the teasing, it should be compacted in and “pushed” into the root area instead of an erratic tease. This will help with control and the combing out process.

Hairdresser coloring womans hair in salon

STEP 7:
Once you get to the top, if you are working with a lot of hair, stop and check your work. If the hair is ready to be rinsed, proceed with the rinsing process in that area to prevent over lightening hair.

TIP: If there are sections that need to be rinsed early, shampoo and rinse thoroughly, then apply Defy Damage ProSeries 2 and clip away while you continue your lightening application. Continue this application process throughout the entire mohawk. Working in this same large weave + babylight manner, starting at the front side hairline, take diagonal forward partings, and apply Formula 1. Continue your application until both sides are completed.

Hairdresser coloring womans hair in salon

STEP 8:
Process your prelightening application until you reach level 8. Shampoo with Blonde Life Brightening Shampoo. Thoroughly towel dry the hair and proceed to the toning process.

Hairdresser coloring womans hair in salon

STEP 9:
Apply Formula 3 to the mids and ends first to tone the blonde to a beautiful honeycomb color.

Hairdresser coloring womans hair in salon

STEP 10:
Then, apply Formula 2 to the base and melt into the mids and ends. This method allows you to melt the color exactly where you want it to be and process all at the same time. Process for 5-20 minutes or until the hair is toned to desired results. Shampoo with Blonde Life Brightening Shampoo. Apply Defy Damage ProSeries 2 for 5 minutes to rebuild and restrengthen the bonds in the hair. Rinse and style as desired with your favorite Joico styling products.

MORE BLONDE AMBITION

Banner

Ice Pixie

Model with brunette pixie hairModel with ice blonde pixie hair

“ A blonde pixie?! Yes please! I love when clients want to get creative and try new things with their hair. Briana has beautiful rich brown level 4 hair that I knew needed the lifting power of Blonde Life®. Blonde Life Lightening Powder would be the right product to achieve the desired results while maintaining the integrity of the hair during the process.”

COLOR FORMULASClient: Briana has natural Level 4
Prep Treatment: Defy Damage ProSeries 1: Bond-Protecting Color Optimizer
Formula 1: Blonde Life Lightening Powder with 20 (6%) Volume LumiShine Developer
Formula 2: Blonde Life Lightening Powder with 30 (9%) Volume LumiShine Developer
Formula 3: (Root Tap) LumiShine Demi-Permanent DD Crème 6NA + 6SB with 5 (1.5%) Volume LumiShine Developer
Formula 4: (Toner) LumiShine Demi-Permanent DD Crème 10SB with 5 (1.5%) Volume LumiShine Developer
Post Treatment: Defy Damage ProSeries 2: Bond-Strengthening Color Treatment

Technique

Hairstylist Jill Buck coloring clients hair

STEP 1:
Prep with Defy Damage ProSeries 1. Shake the can vigorously and then spray in short bursts to 2-inch (5cm) sections and comb for even distribution.

Tip: When working on short hair, use a fine tooth comb to spray and comb ProSeries 1 at the same time for even saturation.

Hairstylist Jill Buck coloring clients hair

STEP 2:
Section out a horseshoe parting along the curvature of the head, the parietal ridge.

Hairstylist Jill Buck coloring clients hair

STEP 3:
Before starting to highlight your client, analyze the hair fall, texture, and density. This will guide you on where to start. When you start to highlight; take fine, micro-weaves when highlighting in the back. This application should be feathered and blended using Formula 1. Be sure, when working in the back, not to take too wide of a section so you do not create a line.

Hairstylist Jill Buck coloring clients hair

STEP 4:
When working in the back area, take diagonal micro-weaves working throughout the back.

Hairstylist Jill Buck coloring clients hair

STEP 5:
Continue to work throughout the back in the same manner. This highlighting manner should be completed in the back to the crown where you took the horseshoe parting.

Hairstylist Jill Buck coloring clients hair

STEP 6:
Continue until the back is completed. Check your foils for processing. If the back is light enough to your desired results, rinse, shampoo, and condition.

Hairstylist Jill Buck coloring clients hair

STEP 7:
Starting in the front sides, take diagonal back micro-weaves and continue highlighting the lower horseshoe portion. Make sure to analyze the hair on the sides like you did in the back to ensure you are starting your highlighting on the correct length of hair to avoid creating lines or spots.

Hairstylist Jill Buck coloring clients hair

STEP 8:
Working into the top section from back to front, take diagonal weave partings and apply Formula 2. Starting at the crown, take many diagonal forward weaves to highlight the top section. Don’t leave any hair out to create a massive impact. As you work along, continue to feather the formula at the root. This will create a seamless rooted look for an easy grow out for your client while creating depth and dimension.

Hairstylist Jill Buck coloring clients hair

STEP 9:
Continue your highlighting application until the top section is fully complete. Go back and check your work, saturation, and monitor the lifting process. If there are sections of the head that are lifted to where you need, it is a great idea to rinse those areas first while letting the other sections continue to process. Rinse and shampoo with Joico Blonde Life Brightening Shampoo. Towel dry the hair gently and continue on to the tap and tone process.

Hairstylist Jill Buck coloring clients hair

STEP 10:
Using Formula 3, tap the base throughout the entire head. When working in the shorter length sections, use a comb to move the hair out of the way when doing your root tap so not to overlap your formula onto the blonde. Make sure to glide the root tap formula over the line of demarcation to create a blend and correct any spots you may have as you work along. Apply Formula 4 to the mids and ends. Process until desired results are achieved.

Hairstylist Jill Buck coloring clients hair

STEP 11:
Rinse and Shampoo with Joico Defy Damage Protective Shampoo. Apply Defy Damage ProSeries 2 throughout the head to restrengthen and rebuild the bonds of the hair. Process for 5 minutes. Dry and style the hair using your favorite Joico Stylers.

MORE BLONDE AMBITION

Banner

Crescent Method

Brunette Model smilingBrunette Model smiling

“The Crescent Method is a foiling technique in which you take large sections of hair to speed up application time. This is a great technique for you to see how the natural fall of the hair will lay as well as create an impactful transformation while saving tons of application time. This is great for any client who has shoulder length or longer hair.” – Larisa Love

COLOR FORMULASPrep: Defy Damage ProSeries 1: Bond-Protecting Color Optimizer Spray

Formula 1: Blonde Life Powder Lightener with 15 Volume (10 + 20 Volume; 3% + 6%) LumiShine Developer working up to 35 Volume (30 + 40 Volume; 9% + 12%)

Formula 2: LumiShine Demi-Permanent Liquid 1 oz (30 ml) 6NC + 2 oz (60 ml) 6NG with 5 (1.5%) Volume LumiShine Developer

Formula 3: LumiShine Demi-Permanent Liquid 1 oz (30 ml) 8NC + 2 oz (60 ml) 8NG with 5 (1.5%) Volume LumiShine Developer

Post: Defy Damage ProSeries 2: Bond-Strengthening Color Treatment

Technique

Hairstylist Larisa Love coloring clients hair

STEP 1:
Prep with Defy Damage ProSeries 1. Shake the can vigorously and then spray in short bursts to 2 inch (5 cm) sections and comb for even distribution. Make sure to spray away from the face for client comfort.

Clients hair parted before coloring

STEP 2:
Part the hair down the middle.

Clients hair parted before coloring

STEP 2b:
Section out a 1-2 inch (2.5 – 5 cm) front hair line parting.

Clients hair parted before coloring

STEP 2c:
Clip the two sections, leaving the front hairline out.

Hairstylist Larisa Love coloring clients hair

STEP 3:
Take a front hairline weave parting and apply Formula 1.

Hairstylist Larisa Love coloring clients hair

STEP 4:
Take a side front hairline weave parting and apply formula one working down the side of the face and tailoring your partings to your client’s hairline. This will add a glow and brightness around the face.

Hairstylist Larisa Love coloring clients hair

STEP 5:
Take a back to back weave parting, tease the base and apply Formula 1.

Hairstylist Larisa Love coloring clients hair

STEP 6:
Repeat on the other side.

Hairstylist Larisa Love coloring clients hair

STEP 7:
Prepare “crescent” foils. Take a long foil and fold each corner in to create a triangle. Fold the tip of the triangle down about 1 inch (2.5 cm). These will create “crescent” shaped foils that are perfect for highlighting large areas of the head as well as perfect for this technique. Prepping these ahead of time will save you time.

Hairstylist Larisa Love coloring clients hair

STEP 8:
Starting in the back nape, take a large curved weaved parting that extends from the ear to the center nape. Apply Formula 1, switching your developer to 20 volume (6%).

Hairstylist Larisa Love coloring clients hair

STEP 9:
Take another large curved weave parting, tease the base, place a long foil underneath and paint on Formula 1 feathering towards the base. Place a crescent foil on top. No folding necessary.

Hairstylist Larisa Love coloring clients hair

STEP 10:
Take another large curved parting. The space between each parting is determined by client consultation and desired outcome.

Hairstylist Larisa Love coloring clients hair

STEP 11:
Your weave partings will follow the curved sectioning. The thickness should be determined by client consultation, hair type and desired outcome. Tease the weaved parting and continue the same application method.

Women with hair foils in hair

STEP 12:
Repeat on the other side using the same application method and upping your developer by 5 volume (1.5%) to each section. Process until you reach a level 9, Pale Yellow. Rinse and Shampoo with Defy Damage Protective Shampoo. Towel dry the hair.

Hairstylist Larisa Love coloring clients hair

STEP 13:
Apply Formula 2 throughout the head in a tear drop method that creates a shadow root.

Hairstylist Larisa Love coloring clients hair

STEP 14:
Apply Formula 3 from the mids throughout the ends blending into the shadow root formula. Process for 20 minutes. Shampoo with Defy Damage Protective Shampoo. Apply Defy Damage ProSeries 2 to restrengthen and rebuild the bonds in the hair. Process for 5 minutes. Rinse and then style hair with your favorite Joico products.


Double Ash Prism Lights Technique

Women smiling with brunette hairWomen smiling with brunette hair

Cool brunette hair is a “mushrooming” trend – and easier than ever to create with LumiShine’s NEW Ash-Ash Series, a collection of seven perfectly balanced shades featuring a green undertone, designed specifically to counteract the warmth of uninvited orangey/red tones. Watch Joico Brand Ambassador, Larisa Love, bring the collection to life with her new Ash-Ash “Prism Lights” technique – a subtle shade upgrade that oozes cool sophistication.

COLOR FORMULASClient: Miki has natural level 2, virgin hair

PrepDefy Damage ProSeries 1: Bond-Protecting Color Optimizer Spray

Formula 1LumiShine Permanent Crème 5AA with 20 (6%) Volume LumiShine Developer

Formula 2 – LumiShine Permanent Crème 6AA with 30 (9%) Volume LumiShine Developer

Formula 3Blonde Life Powder Lightener with 20 (6%) Volume LumiShine Developer

Formula 4 – LumiShine Demi-Permanent Liquid 6AA with 5 (1.5%) Volume LumiShine Developer

Formula 5 – LumiShine Demi-Permanent Liquid 8AA with 5 (1.5%) Volume LumiShine Developer

Post – Defy Damage ProSeries 2: Bond-Strengthening Color Treatment

Technique

Client getting hair colored with foils

STEP 1:
Prep with Defy Damage ProSeries 1. Shake the can vigorously and then spray in short bursts to 2-inch sections and comb for even distribution. Make sure to spray away from the face for client comfort.

Client getting hair colored with foils

STEP 2:
Defy Damage works right away. you will see immediate shine and softness. ProSeries 1 is an easy 1 step spray that requires NO formula changes, NO mixing, NO developer changes and NO timing changes. This step will help provide greater and more even lift, greater and more even color deposit as well as make the hair 5x stronger while providing 80% less breakage.

Client getting hair colored with foils

STEP 3:
Apply formula 1 to the base throughout the entire head

Client getting hair colored

STEP 4:
When applying color at the front, make sure you take diagonal back partings so that all sections stay nice and clean and away from the face.

Client getting hair colored

STEP 5:
Section a triangle out from the fringe. Take a horseshoe section out from the arch of the brows that extends below the crown in the back.

Client getting hair colored with foils

STEP 6:
Working on one side of the fringe at a diagonal, take weave partings and apply formula 3 below the regrowth formula through the ends.

Client getting hair colored with foils

STEP 7:
Continue working with weave partings, adding babylights. The amount you add should be based on client consultation, hair type and density and the fringe length. Adding too many babylights on a short fringe will create spots or a banding look.

Client getting hair colored with foils

STEP 8:
Working with a fine weave parting that starts at the ear to the horseshoe parting, apply formula 3 from growth through the ends. Don’t overlap the two formulas.

Client getting hair colored with foils

STEP 9:
Continue taking diagonal back weave highlights working off the horseshoe section.

Client getting hair colored with foils

STEP 10:
Repeat on the other side

Client getting hair colored with foils

Finished Foiling Side View

Client getting hair colored with foils

Finished Foiling Front View

Client getting hair colored with foils

Finished Foiling Back View

Client getting hair colored with foils

STEP 11:
Apply formula 2 to the rest of the hair melting into the base.

Client getting hair colored with foils

STEP 12:
Process for 35 minutes. Rinse and shampoo with Defy Damage Protective Shampoo.

Client getting hair colored with foils

STEP 13:
Apply Formula 4 in a tear drop method and formula 5 through the mids and ends

Client getting hair colored with foils

STEP 14:
Process for 5-15 minutes. Rinse and shampoo with Defy Damage Protective Shampoo. Apply Defy Damage ProSeries 2 on damp and process for 5 mins. Rinse and style as desired.