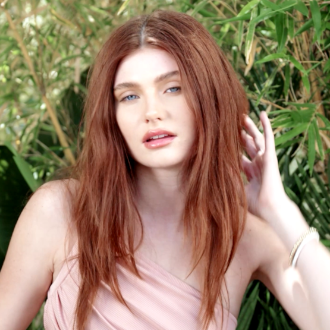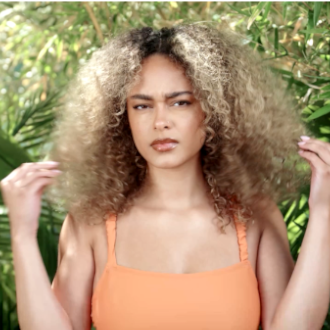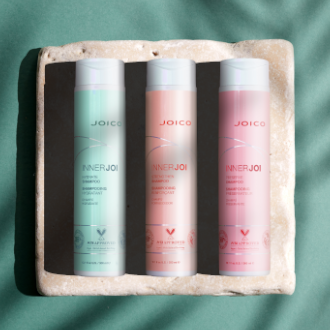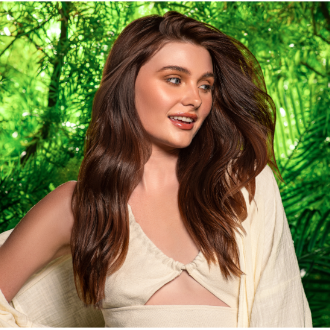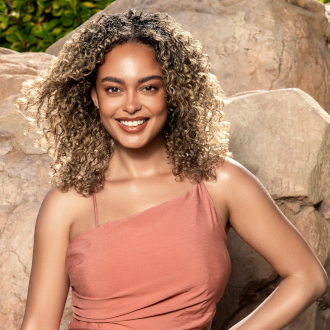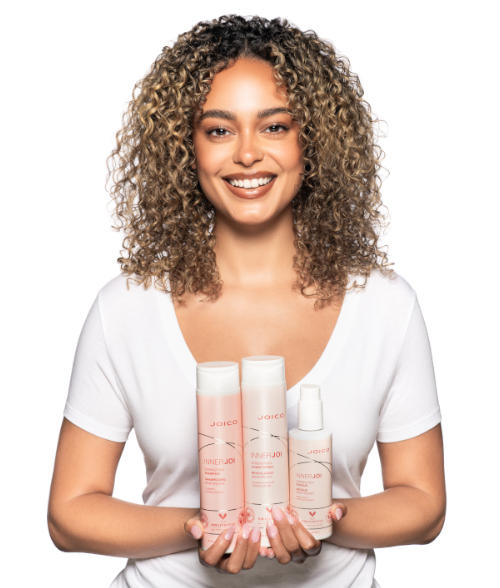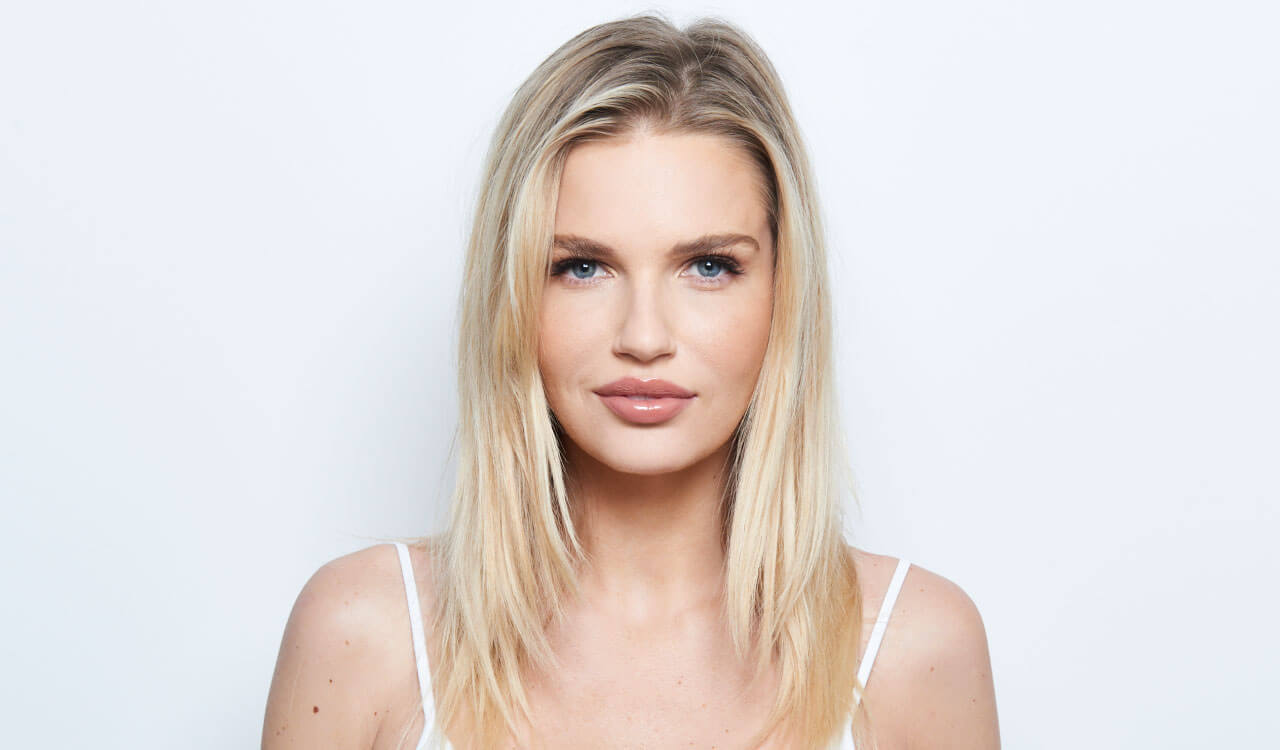
Clients and trends have a high demand for ultra-cool and creamy blondes that also look and feel healthy, shiny and luxurious. Not only is there a demand for these types of blondes but also a demand to maintain the coolness and shine of their precious blonde locks.
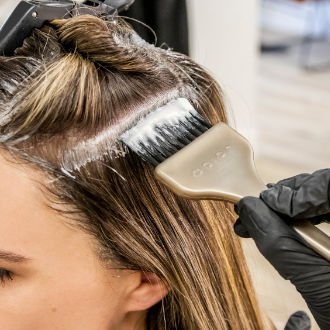
Marisa Marino, Celebrity Colorist and Senior Stylist at 901 Salon in West Hollywood, as she shows you her Crème D’Blonde Technique using Joi Color Systems LumiShine and Blonde Life Lightening and Brightening system. Blonde Life powder provides a power 9+ levels of lift while maintaining superior health, shine and condition of the hair as it lifts thanks to the exotic oils of Tahitian Monoi and Tamanu combined with Bond-Building Arginine to restrengthen the hair during the lifting process.
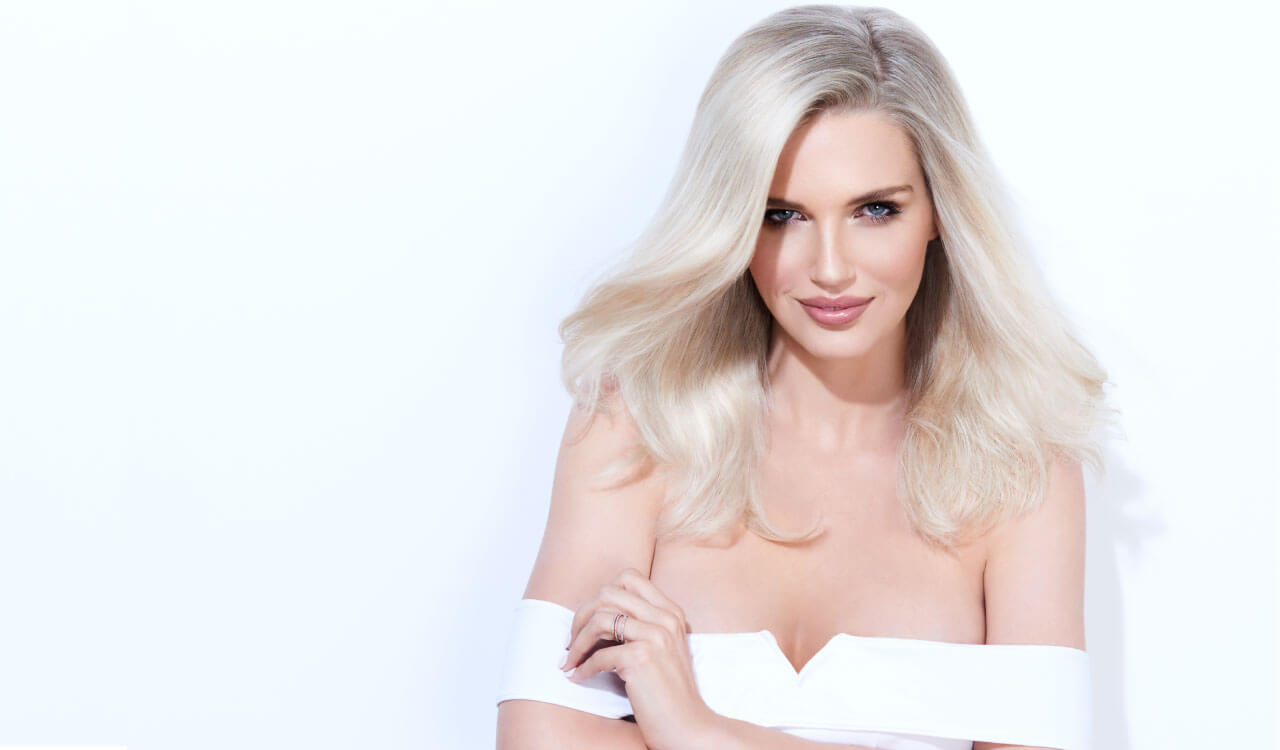
I love when my clients ask for blonde hair that’s ultra-cool and creamy. It’s a look I perfected using Joico’s Blonde Life lightening and brightening system, which I love because it helps keep the hair healthier than ever.
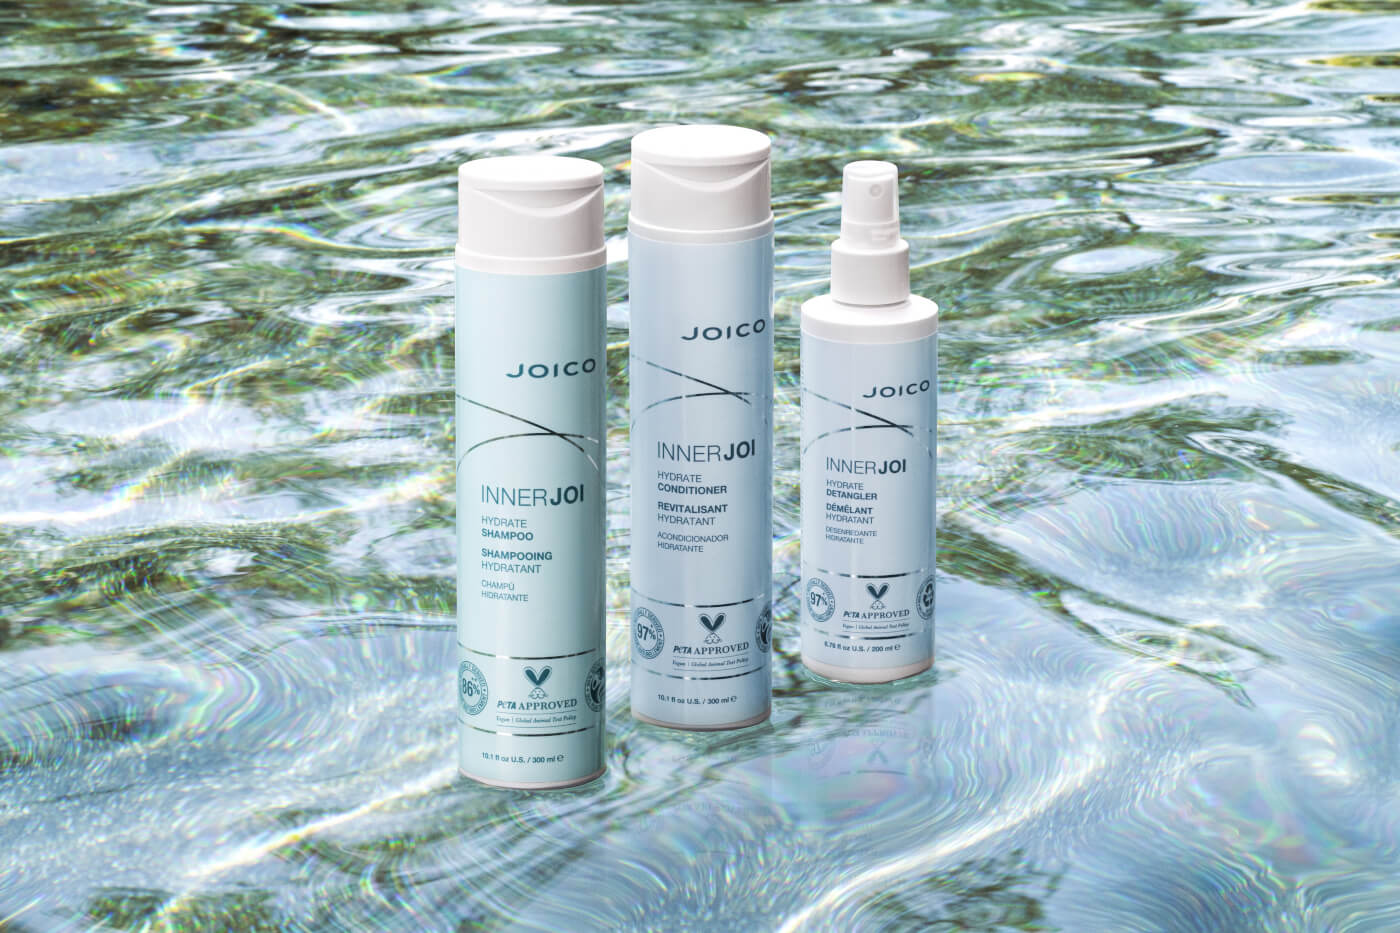
Blonde Life Lightening System

Formula 2: Blonde Life Lightening Powder + 20 (6%) Volume LumiShine Developer
Formula 3: Blonde Life Lightening Powder + 30 (9%) Volume LumiShine Developer
Formula 4 (Toner): LumiShine Demi-Liquid ½ oz (15ml) Clear + ½ oz (15ml) 9NV + 1oz (30ml) 5 (1.5%) Volume LumiShine Developer
Technique

STEP 1:
First, section the hair into three parts

STEP 2:
Section two partings in the front and one large section in the back. The front two sections should be parted off the client’s natural part or where she normally parts her hair.

STEP 3:
Back view of sectioning.

STEP 4:
Take a diagonal section from behind the right ear. Then finely weave the section and apply Formula 1 scalp to ends.

STEP 5:
Take a second diagonal weave parting and apply Formula 1.

STEP 6:
Move to the opposite side and repeat the process.

STEP 7:
Next, move to the center back. Take a horizontal section, finely weave, and apply Formula 1.

STEP 8:
Take a second horizontal weave parting and apply Formula 1 directly above that.

STEP 9:
On the third parting of the back section, start applying Formula 2.

STEP 10:
Go back to the right section, take a diagonal weave parting, and apply Formula 2.

STEP 11:
Repeat on the opposite side.

STEP 12:
Return to the center back. Take another horizontal weave parting and apply Formula 2. Keep that pattern going until you’ve reached the top of that section.

STEP 13:
Next, move to the front hairline section. Take a diagonal slice of hair against the hairline, finely weave it, and apply Formula 2.

STEP 14:
Continue with diagonal weave partings up toward the center part using Formula 2 for four foils.

STEP 15:
The fifth foil will connect visually to the back sections. Apply Formula 2 in this horizontal weave parting.

STEP 16:
Move to the left and repeat the sectioning from the right side using Formula 1.

STEP 17:
Move to the center front hair line. Take a fine horizontal weave parting and apply Formula 1 from scalp to ends. Using the Formula with 10 volume is recommended as this hair tends to lift faster and can be more fragile.

STEP 18:
On the second foil, using formula 2, apply formula on a weave parting.

STEP 19:
From here, move side to side taking diagonal sections, using Formula 3 closer to the scalp and formula 2 from midshaft to ends.

STEP 20:
Continue in a “side to side” method of highlighting using Formula 3 at the scalp and Formula 2 from midshaft to ends.

STEP 21:
Pick up the ends that were left out of the foils and apply Formula 2 in a “foilyage”. Repeat this process all around the head with the hair left outside of the foils.
TIP: Keep in mind not to choose ends at random; target the ones that look warmest.
Process up to 60 minutes or until the desired level of lightness is achieved. Rinse hair thoroughly then shampoo with Joico Blonde Life Brightening Shampoo.

STEP 22: Glossing Application
Apply Formula 4 scalp to ends throughout the entire head and process for 5 to 35 minutes, or until you achieve your desired tone.

STEP 23:
Using your fingers, “rake” the foam throughout the strands from scalp to ends.

STEP 24:
Using a medium boar bristle brush and medium heat, start your blow dry at the center top base to create lift and volume. Keep the air flow concentrated with the cuticle and not against. This will smooth, shine and dry the hair without creating frizz.

STEP 25:
Continue your round brush blow-dry throughout the rest of the head. Starting at the base first then moving to the midshaft and ends. Over-direct the hair straight up and towards you for smoothness and body.
TIP: For added body and glam, add Joico Body Shake dry texturizer.

STEP 26:
Flip hair upside down after your blow dry. Holding the can 1-2 feet away, spray Body Shake throughout the strands.

STEP 27:
Using your fingers, shake up the texture to distribute the product and create the volume, separation and movement throughout the hair.